Showing posts with label wreath. Show all posts

Tuesday, February 11, 2014

A Wreath For All Seasons

I love having seasonal wreaths on my front door, but I don't love storing them at the end of each holiday.  They always end up smashed or deformed or worst of all--full of spiders and cobwebs.

I wanted a wreath that would go with me from season to season with little design effort.  Here is what I created last fall:


I used burlap ribbon to create the wreath and embellish it each season with an inexpensive plaque or oversized ornament. This particular Valentine's ornament I made myself.  Totally wonky and by no means perfect, just like me.  :)

What do you have on your front door? 

Photobucket

Friday, February 24, 2012

"Pink Ribbon" Rag Wreath

I know I say this a lot (or maybe not enough), but I miss my friends and relatives back in Florida. Every time I miss a birthday party, baby shower, baptism, or even a Friday night dinner out with friends, it is like a million knives flying through my heart.

This is why I was so touched (and excited) when my cousin (technically my husband's cousin's sister-in-law, but after being friends for 20 years, and catching the bouquet at my wedding, we are practically blood relatives) asked me to create a special wreath for her mom's Pink Party, celebrating 5 years of being free of breast cancer.

She told me exactly what she wanted and I was thrilled to get right to work.


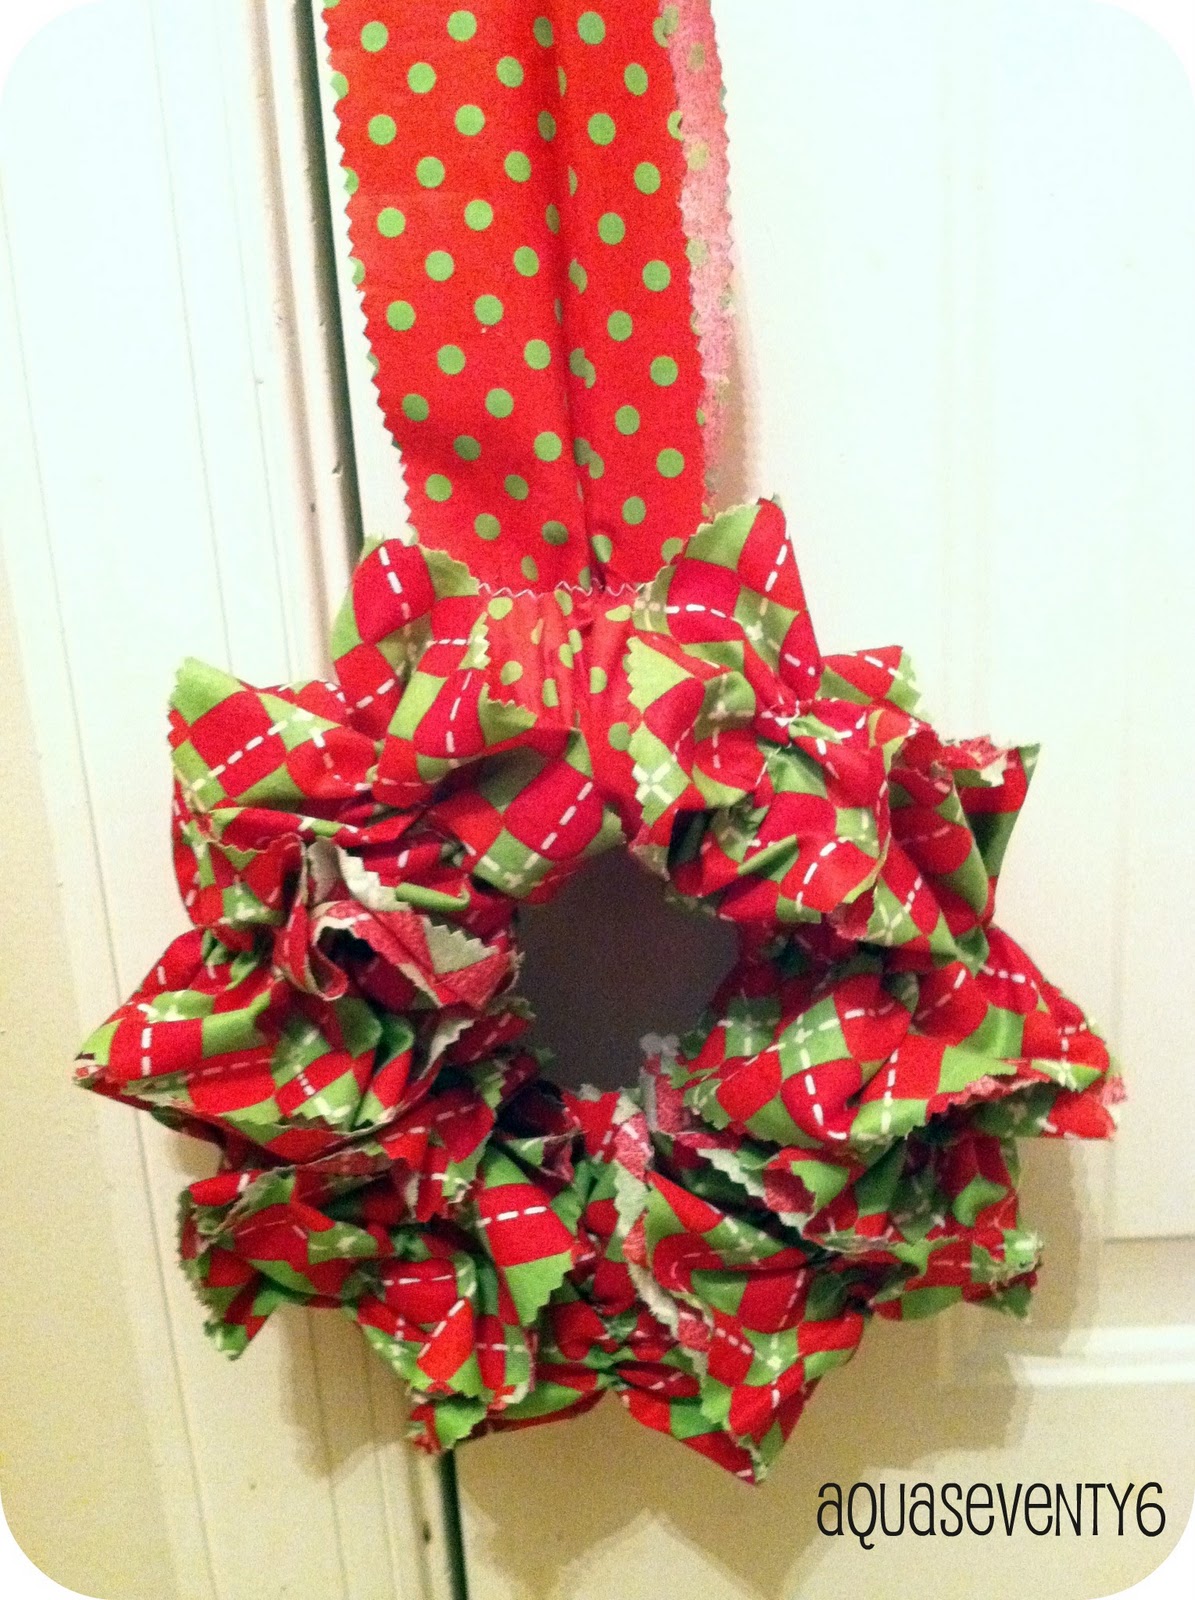
A rag wreath is one of those projects where you really have to LOVE person for whom you are making it, because it is quite time consuming.  Good thing I LOVE these ladies!! ;)


Each strip of fabric is ripped and individually tied to the wreath base. The more strips you fit on to the base, the fuller the wreath is. I wanted a FULL wreath.  I used a total of 3.5 yards of 5 different fabrics.

One of the fabrics was a floral print with pink ribbons.  Another fabric had the words "Faith, Hope, Love, Charity".


I love how the different shades of pink give it depth and texture.


I love the end result so much, that I am planning to make myself a springtime rag wreath (if I start now, it may be complete by spring!!)

I hope my cousin loves this wreath as much as I loved making it.  Here's to a lifetime of health for the beautiful "L" and a cure for breast cancer.


Click here to see where this and my other posts are linked!


Photobucket

Friday, January 6, 2012

Tampa Trunk Show and an Announcement

Happy 2012, my beautiful friends!  I am so sorry that it has taken me a whole 6 days into the new year to wish you well!  Also, I am even more sorry that it has been almost an entire month since my last post!!

What a crazy holiday season it has been!! I spent the entire month of December making items for AquaSeventy6's final trunk show of 2011, in Tampa, Florida.  After a 12 hour drive, and three days of last minute preparation, I am happy to announce that the show was a success!

It was such a pleasure to put this show together with my friend, Marcy, owner of K.a.i-y.a. Designs!

Here is the AquaSeventy6 table!
Checkbook Covers, Everything Pocuhes, Key Rings, and Headbands.
Button Pendant necklaces, Cuff Bracelets, He Loves Me Brooches and Hair Clips, Business Card/ID Holders, and more Headbands.
Ruffled Wreath, Felt Wine Bag and Clutches.
Fabric and Bead Necklaces and Scrappy Scarf Necklaces.

Here is the K.a.i-y.a. Designs table.  The Superhero tees and onesies were a BIG HIT!
Just look at these super cute headbands and reindeer tees!
I actually wanted this adorable Christmas skirt and top combo for myself!
Our hubbies took over as bartenders for the evening. 
Sangria Terreo was number one on the menu!
After a long, yet productive evening, Marcy and I
were finally able to pose for a photo!
I wish I would have photographed some of our guests, but by the time Marcy and I came up for air, the crowd had dwindled down, and our tables were sparse! We were very, very blessed.  Thanks to all of you who joined us that evening!!

Finally, I wanted to take a moment to announce some changes here at AquaSeventy6:

I started this blog in 2010 in conjunction with my very good friend, Autumn, who shares my passion for second-hand, refurbished, vintage and handmade items.  Together we featured our DIY projects, tutorials and our handmade items for sale.  As of January 2012, we decided that we each had so much to share that we would divide and conquer.  I will keep you updated on Autumn's journey and link her new site as soon as its up and running.

Autumn, your contribution to our site will be greatly missed, but I can't wait to see how you transform your skill and passion into another beautiful endeavor.  Love you tons!


Photobucket


Click here to see where this and my other posts are linked!

Wednesday, October 26, 2011

Shabby Ruffle Mini-Wreaths

Yes, we know most of you are still carving pumpkins and picking out Halloween costumes, but here at AquaSeventy6, the winter holidays are in full swing!  You might remember the Shabby Ruffle Mini-Wreaths we made last year.  They were a huge hit at our Holiday Trunk Show! 

Our friends over at Blossom and Poppy loved them, too!  Here is what we made for them, and a preview of what you will find at our shop and shows this winter.


Sorry that the photos are so bad! Between orders, sick kiddos, and traveling spouses we haven't had time to set up fab vignettes.  Hope you still love us, though! xoxo

Click here to see where this and our other projects are linked!

Photobucket

Tuesday, October 11, 2011

Haunted Exterior

Photobucket


There is something about seasonal/holiday decorating that makes me super giddy. Maybe it is the fact that I only bust this stuff out once a year. Perhaps it is the festive mood that is evoked. But no matter how you slice it, I really dig holiday decorating. I haven't quite gotten around to decorating the inside of the house...but the outside is off to a good start.
Photobucket

Last year I made this snake wreath. I thought it got lost in the move, but you can imagine my spooktacular glee when I discovered it this weekend! If you want to make your own, see directions at the end of this post.

Photobucket

My boys love to help in the house decorating! But hands down, their favorite is always the inflatable! My favorite quote of the day came from my 2 1/2 year old, Easton.
"Mommy, I not scared of dose ghosteses or dem pooosycats."

Happy haunting, everyone!!

Snake Wreath of Terror:

1. Weave plastic snakes (I bought mine at the Dollar Store) in and out of a grapevine wreath.
2. Spray paint black (or any color you like...or not at all...or buy the glow snakes!).


Photobucket

Thursday, July 28, 2011

More Monogrammed Wreaths

I was inspired by the Yvette's monogrammed wreath and decided I needed one for my front door as well.

Snapbucket

I covered a plain cardboard letter J with burlap,

Snapbucket

Then wrapped a frame with some scrap fabric. So simple! It's the perfect pop of color for my dull front porch (outside is really not my thang...but I'm working on it!).


Snapbucket

Photobucket

Sunday, July 17, 2011

Grape Vine Monogrammed Wreath

One of the things I love the most about Richmond is its proximity to the wineries in Charlottesville.  Last weekend, Hubs and I celebrated his birthday in Charlottesville and were pleasantly surprised when we stumbled upon a relatively new winery.  Stinson Vineyards has an absolutely gorgeous tasting room and property and their wines are fantastic to boot.

While I was there, I picked up this adorable little wreath made from grape vines.

I had a million and one ideas as to what I wanted to do with it, but like most of my projects, I choose one idea and run with it, for better or worse.

I decided to make a monogrammed wreath, but I knew that it would not hold the weight of a wooden letter.  I am not lucky enough to own a Silhouette, so I printed out a large letter M from MS Word and traced and cut it out of a piece of cardboard.


I then traced the letter on to a piece of scrap fabric.


Eight months after purchasing my very first jar of Mod Podge I finally opened it and attempted to Mod Podge the fabric onto the cardboard letter.


While the Mod Podge dried I made a couple of fabric rosettes from some other scraps. When the letter was completely dry, I trimmed off the edges where the fabric and cardboard didn't line up correctly (and there were quite a few). 

I couldn't decide quite how I wanted the wreath to look, so after a couple of tries I ended up with this:

I will admit, it's not as awesome as what I had envisioned, but I dig it nonetheless.   One of the things we AquaSeventy6 girls live by is the mantra that design doesn't have to perfect to be wonderful to us.


Scroll down to see where these and other projects are linked.

Photobucket