These bar stools have taken a beating. They are solid, well made stools but the leather is scratched and torn and not lookin' too hot these days. After considering reupholstering, I decided it would be easiest (and most practical) to make slipcovers. This way I can remove and wash them as needed.
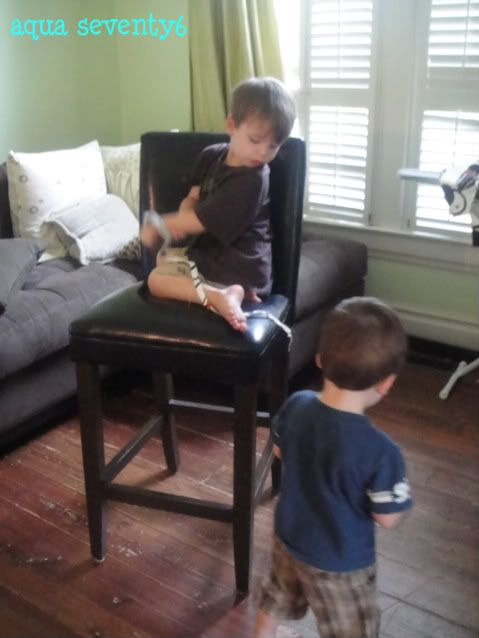
Here is the plain brown stool. Desperate for some color - I picked up some graphic upholstery fabric at IKEA for $7.99 a yard. It is so sturdy!
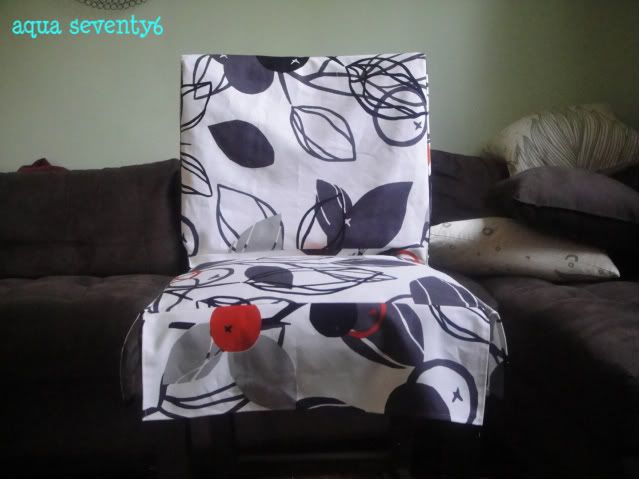
So how did I create this simple little cover? Glad you asked...
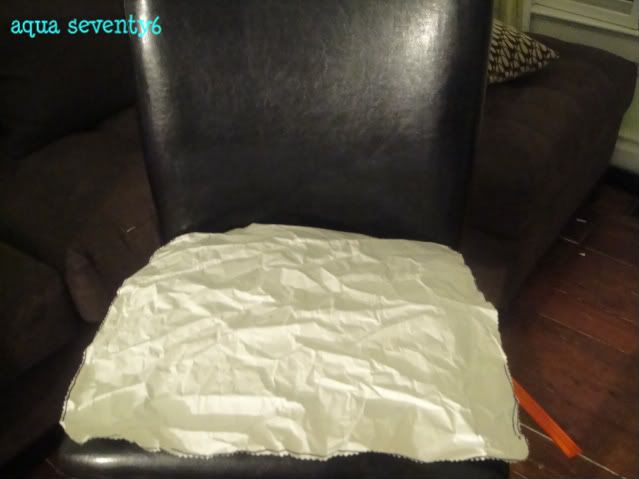
Next, I made a pattern for the seat from a large piece of paper. Simply lay your paper on top of the seat, trace with a marker and cut on the line.
After you have made your pattern, place it on the wrong side of your fabric and cut out.
Once again, give yourself an extra 1/2" all the way around for your seam allowance.
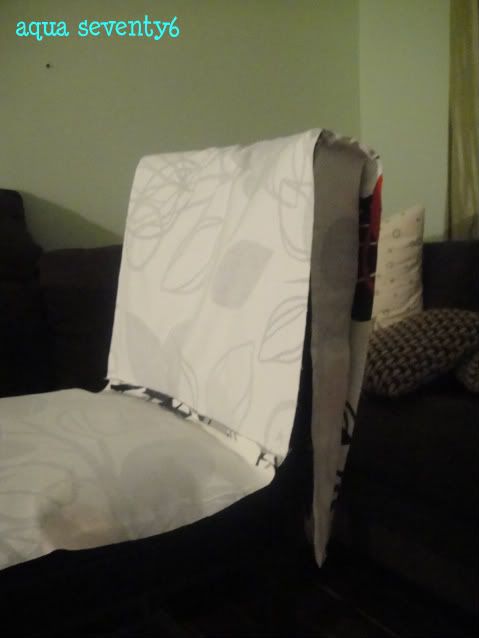
With wrong sides together, sew the back piece and seat piece together. Once they are connected, place the joined piece back on the stool to make sure it fits. Leave the piece there for the next step.
Next, measure the side pieces on the back part of the stool. Use those measurements (adding 1/2" to each side) and cut out 2 from your fabric. Attach the side pieces to the back and seat pieces with right sides together and using a 1/2" seam allowance.
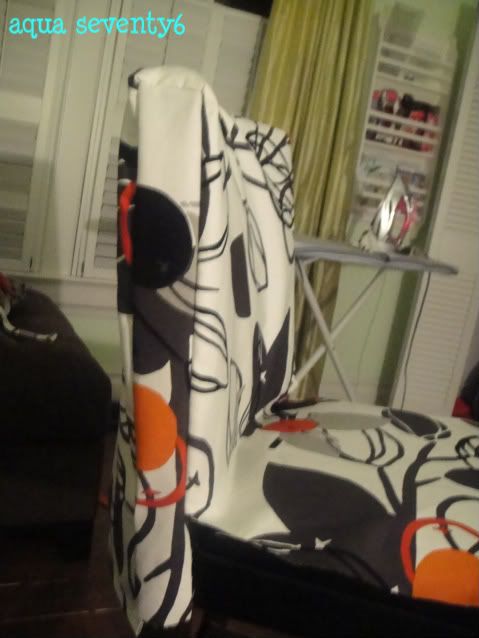
Turn the cover right side out and check for fit. Make adjustments if necessary.
Next, measure your front and side panels for the skirt of the seat. Start at the edge of our seat piece and measure down as far as you would like the skirt to go. Then ad 1/2" to each side and cut out of your fabric.
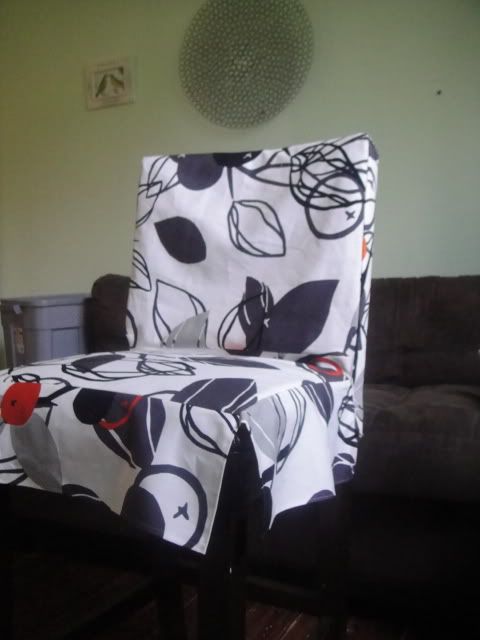
Attach each panel and..
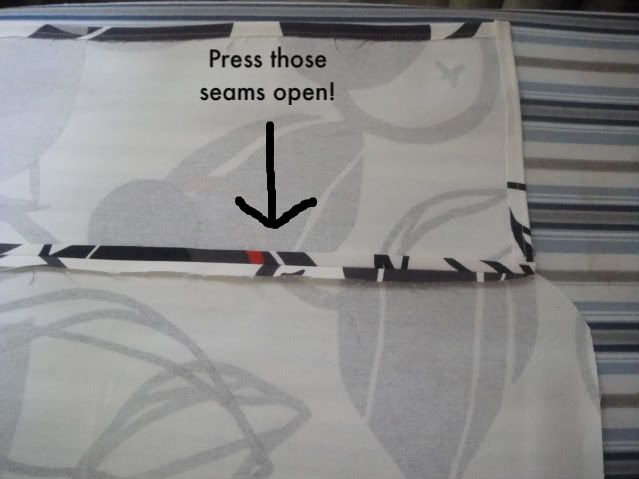
Give the cover a final fitting and make adjustments if needed. Finally, turn the cover wrong side out and turn the bottom of the fabric under 1/4" for your hem. Sew all the way around, pressing when complete, for a nice crisp finish!
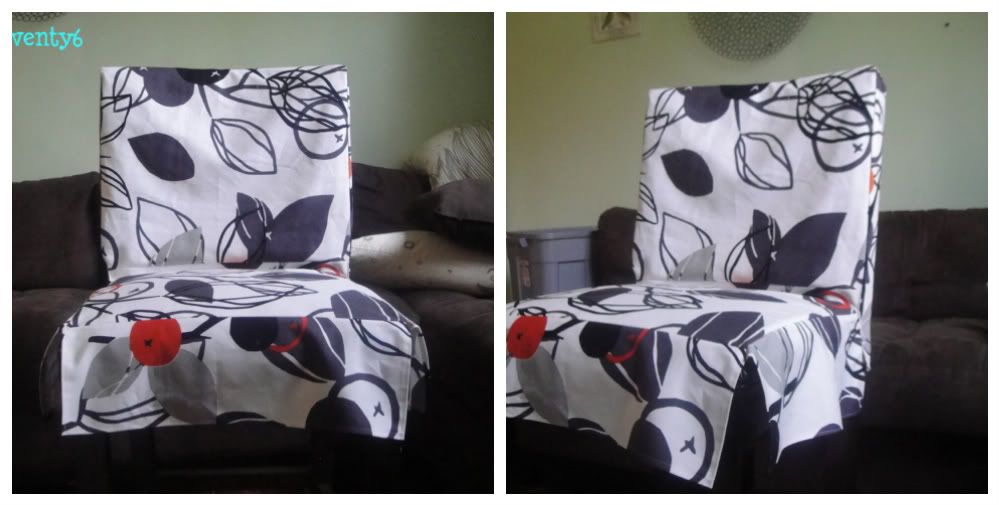
Remember to make this your own!
Ideas for Skirt Variations:
ruffled
pleated
one continuous panel with box pleat corners
none at all - extend your seat piece all the way down, wrap around bottom of seat and staple to secure
Happy Creating!
Linking to:


Here is the plain brown stool. Desperate for some color - I picked up some graphic upholstery fabric at IKEA for $7.99 a yard. It is so sturdy!

So how did I create this simple little cover? Glad you asked...

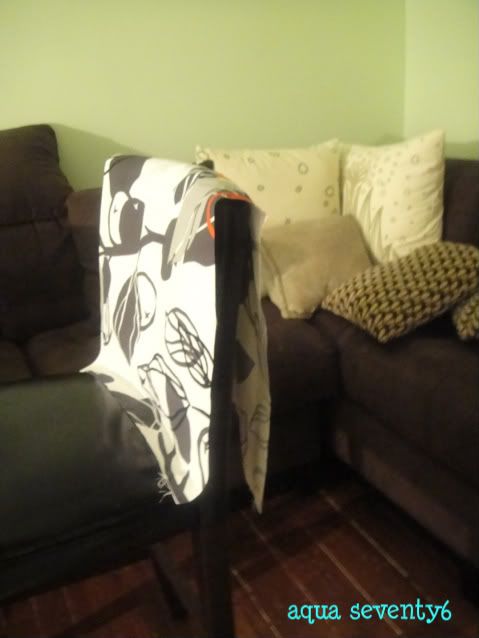
First I draped the fabric over the back of the chair and cut it to fit. Make sure to give yourself an addition 1/2" on each side for seam allowances.
I decided to give myself a 1/2" seam allowance on this slip cover because it is going to get a lot of wear and tear; there will be a lot of pulling with all the sitting taking place.

Next, I made a pattern for the seat from a large piece of paper. Simply lay your paper on top of the seat, trace with a marker and cut on the line.
After you have made your pattern, place it on the wrong side of your fabric and cut out.
Once again, give yourself an extra 1/2" all the way around for your seam allowance.

With wrong sides together, sew the back piece and seat piece together. Once they are connected, place the joined piece back on the stool to make sure it fits. Leave the piece there for the next step.
Next, measure the side pieces on the back part of the stool. Use those measurements (adding 1/2" to each side) and cut out 2 from your fabric. Attach the side pieces to the back and seat pieces with right sides together and using a 1/2" seam allowance.

Turn the cover right side out and check for fit. Make adjustments if necessary.
Next, measure your front and side panels for the skirt of the seat. Start at the edge of our seat piece and measure down as far as you would like the skirt to go. Then ad 1/2" to each side and cut out of your fabric.

Attach each panel and..

Give the cover a final fitting and make adjustments if needed. Finally, turn the cover wrong side out and turn the bottom of the fabric under 1/4" for your hem. Sew all the way around, pressing when complete, for a nice crisp finish!

Remember to make this your own!
Ideas for Skirt Variations:
ruffled
pleated
one continuous panel with box pleat corners
none at all - extend your seat piece all the way down, wrap around bottom of seat and staple to secure
Happy Creating!
Linking to:


No comments:
Post a Comment