My 'lil guy just turned 4! He chose the theme for his party: Heroes v Villains. It was so much fun!
One of his requests was that all party goers be able to make a cape and a mask. My response? "Perfect!"
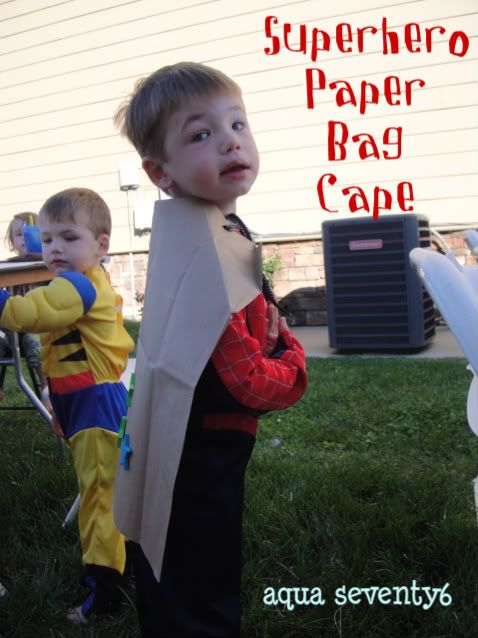
The capes were so simple and fun to make I couldn't help but share. So here you go.
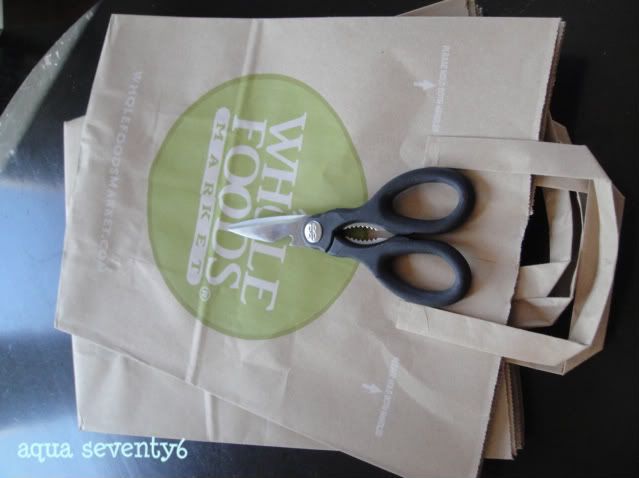
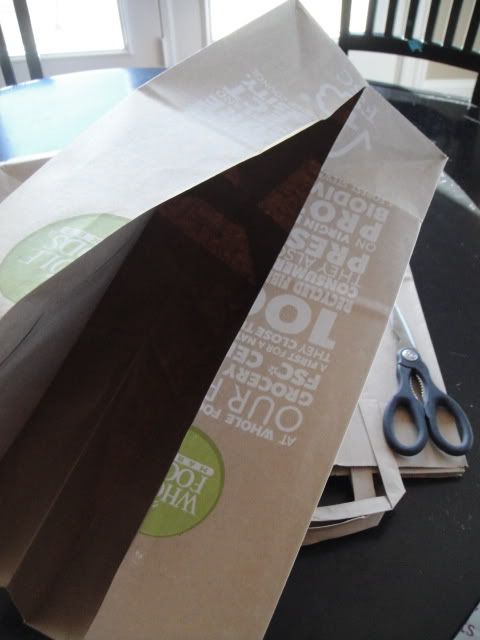
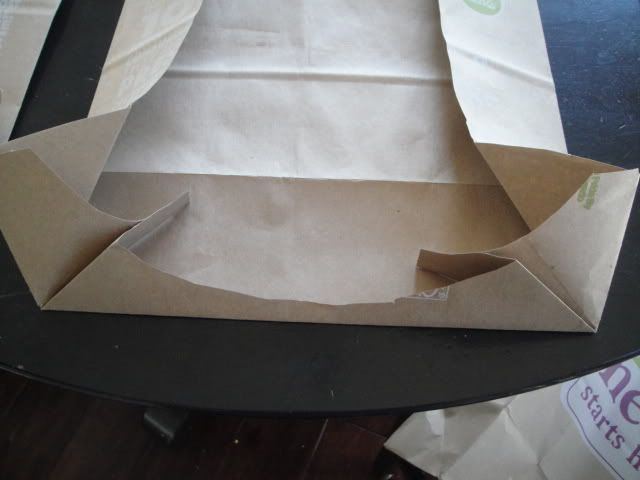
Start with a paper grocery bag. Open it up completely and start cutting at the side seam.
Continue to cut across the bottom and all the way around to the other side seam.
Cut a semi-circle in the middle of the bottom flap (this is where the cape will fit around the child's neck)
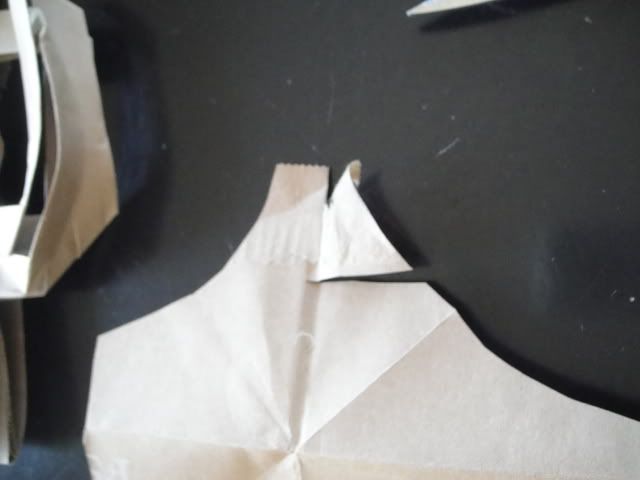
Next, open the edges of the circle where they are glued together and trim the ends so they are even.
Then, gently peal off the handle and your cape is almost done.
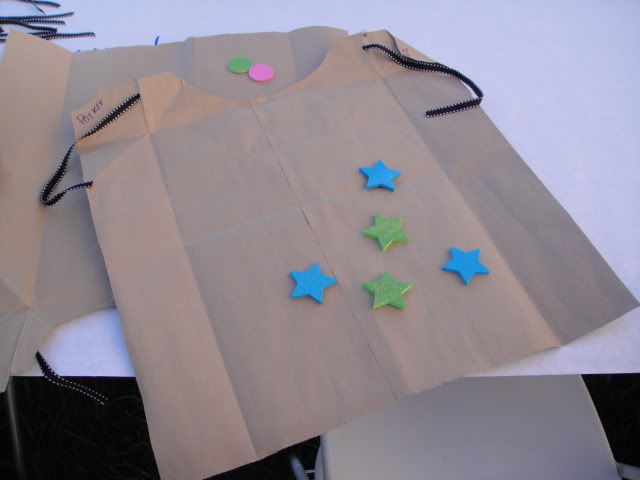
Finally, punch holes at the sides of the neck and tie ribbon through the holes.
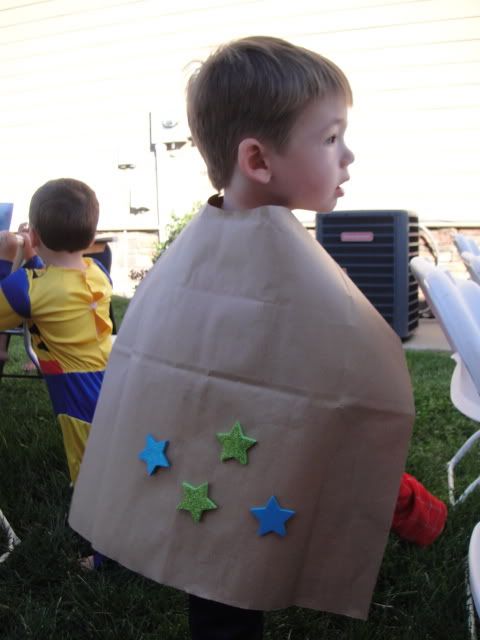
Now the kids are free to decorate and get creative!
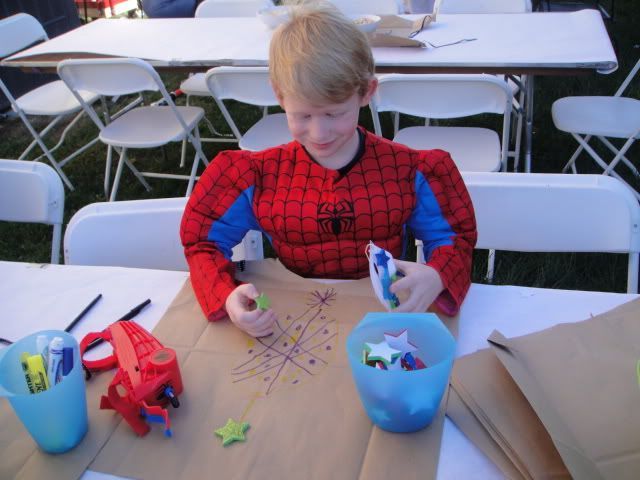 |
| One of my favorite little crafters, hard at work! |
These were so much fun and totally FREE to make. And you know us Aqua gals adore a bargain.
Fit for a Superhero and a great Halloween craft as well!
I know what you're thinking, "I can do that." Know what? You can. And you should. Because we also discovered that if you turn it around to your front it makes an awesome adult-sized bib for eatin' lots of BBQ!
I know what you're thinking, "I can do that." Know what? You can. And you should. Because we also discovered that if you turn it around to your front it makes an awesome adult-sized bib for eatin' lots of BBQ!


So cute, I run a small daycare in my home. My little ones will love to make one of these.....
ReplyDeleteRhonda (just creeping around) hehe