Tuesday, June 28, 2011

Affordable Sheets Become Dream Curtains

When we decided to move to Virginia, one of the things that I knew we would miss the most is the short drive to the beautiful Florida beaches.  As I set out to decorate my children's new bathroom, I found a sweet frame that summarized my personal feelings about the beach: Sand between your toes, waves crashing, sunsets...it doesn't get much better than this.

I was lucky enough to find matching towels and a bath rug, but what the bathroom really needed were curtains.  I scoured the fabric stores, but nothing stood out.  It wasn't until one afternoon perusing Ross that I found a sheet set with the perfect pattern and color to match the bathroom.

So this...


Became this...


A perfect compliment to my beachy bathroom-in-progress.


What makes this even sweeter?  These microfiber sheets cost just $12.99.  I only used the flat sheet for these curtains so I still have a fitted sheet and two pillow cases to use for future projects!

Photobucket

Monday, June 27, 2011

Friday, June 24, 2011

We Were Caught!

We are again humbled to be featured on one of our favorite blogs.  You can find Autumn's buffet makeover on My Repurposed Life's "Catch As Catch Can 33"


Photobucket


Photobucket

Thursday, June 23, 2011

Man's Dress Shirt Becomes Flirty Skirt!

I just love repurposing and upcycling!! Last week I came across a tutorial that I knew I just had to follow.  I started out with a man's dress shirt. 


Hubs would have killed me if I used one of his, so this was $4.99 at my local Goodwill.
A little nip and tuck, and an hour later I had this:

Cute, huh?
Here I am in an attempt to model my new skirt:
It's not easy to get an 8-year-old to take a clear photo!

The only thing I did differently from the tutorial is that I didn't make the belt loops. I used a 15x33 men's shirt, and if I were to make this again I would probably look for a 16x35 (I normally wear a size 6 or 8 skirt) to have a bit of a fuller skirt and more sleeve length to work with for the belt/sash. I would also probably make the skirt a couple of inches shorter by cutting the waistband a little lower.  I didn't do it this time around because I wanted to keep the pocket in tact.

Aqua Seventy 6 hopes you are having a great week.  Make it a better one by becoming a follower! Comment and let us know that you are a follower and we will follow you back!

Photobucket

Monday, June 20, 2011

Featured On: Our House of Joyful Noise


We've neglected you for a couple of days but we are back with some exciting news!  Three of our projects have been featured at the lovely blog Our House of Joyful Noise.  Laura hosts a fun linky party every Tuesday, so stop by and share your latest project!

If you are visiting us from Our House of Joyful Noise, please feel free to browse, comment, and we'd just LOVE for you to become a follower!


Photobucket

Thursday, June 16, 2011

Bar Stool Slipcover Tutorial

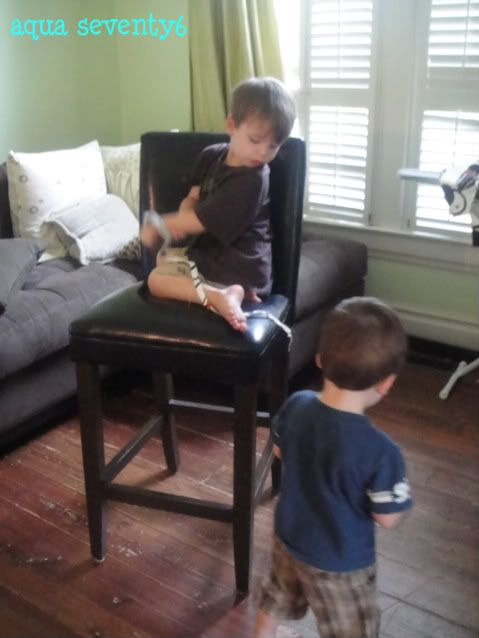
These bar stools have taken a beating. They are solid, well made stools but the leather is scratched and torn and not lookin' too hot these days. After considering reupholstering, I decided it would be easiest (and most practical) to make slipcovers. This way I can remove and wash them as needed.

Photobucket

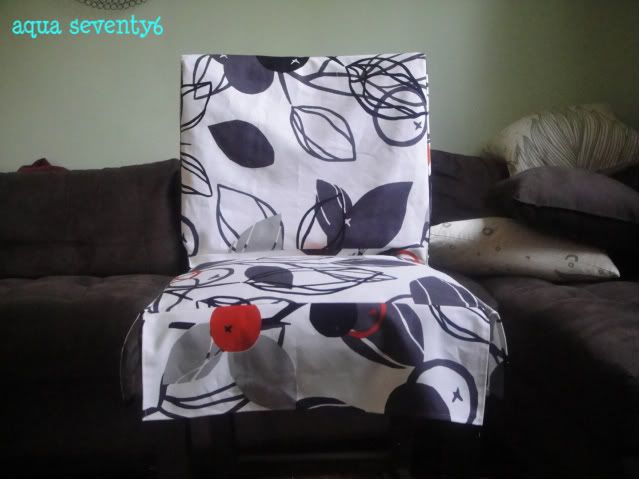
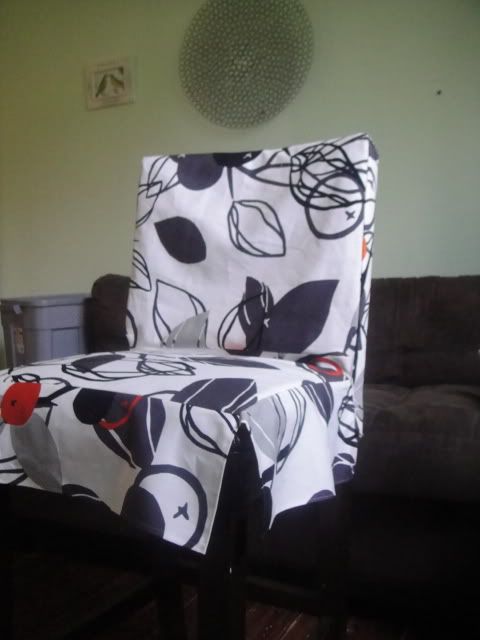
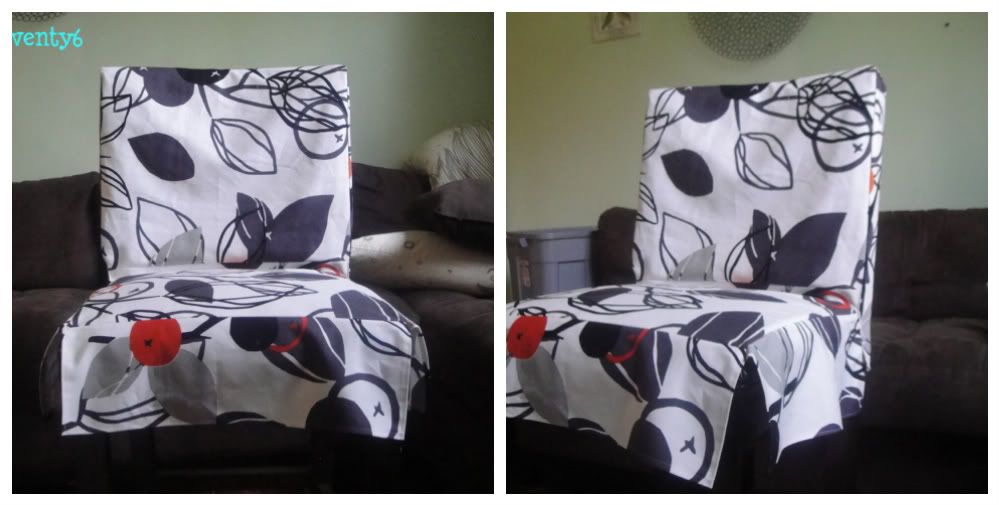
Here is the plain brown stool. Desperate for some color - I picked up some graphic upholstery fabric at IKEA for $7.99 a yard. It is so sturdy!

Photobucket

So how did I create this simple little cover? Glad you asked...

Photobucket

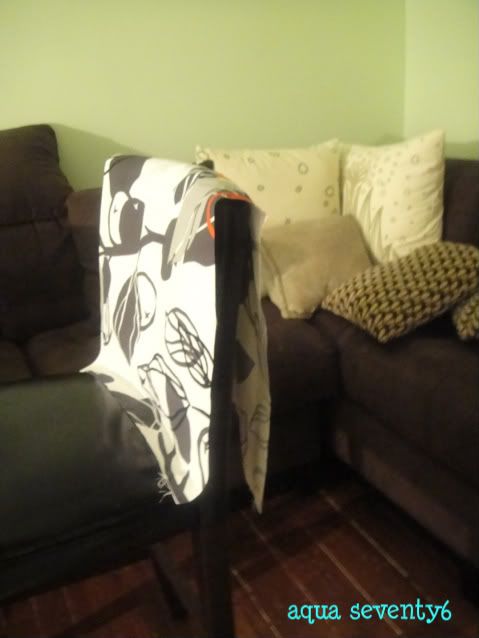
First I draped the fabric over the back of the chair and cut it to fit. Make sure to give yourself an addition 1/2" on each side for seam allowances. 

I decided to give myself a 1/2" seam allowance on this slip cover because it is going to get a lot of wear and tear; there will be a lot of pulling with all the sitting taking place.


Photobucket

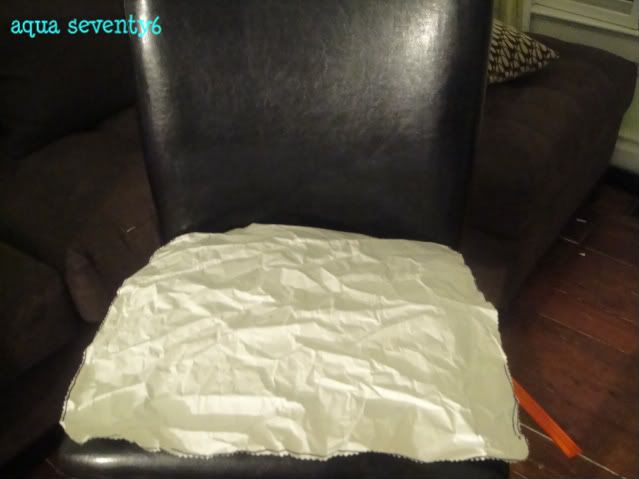
Next, I made a pattern for the seat from a large piece of paper. Simply lay your paper on top of the seat, trace with a marker and cut on the line.

After you have made your pattern, place it on the wrong side of your fabric and cut out.

Once again, give yourself an extra 1/2" all the way around for your seam allowance.

Photobucket

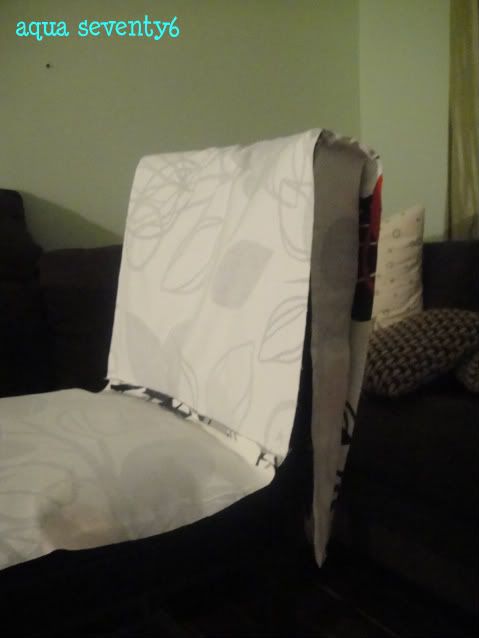
With wrong sides together, sew the back piece and seat piece together. Once they are connected, place the joined piece back on the stool to make sure it fits. Leave the piece there for the next step.

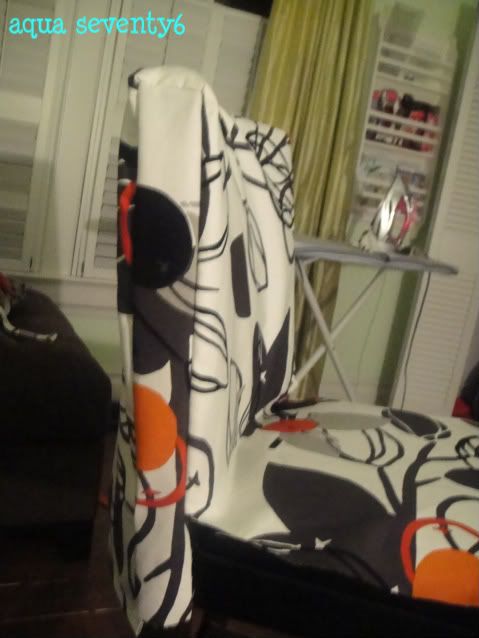
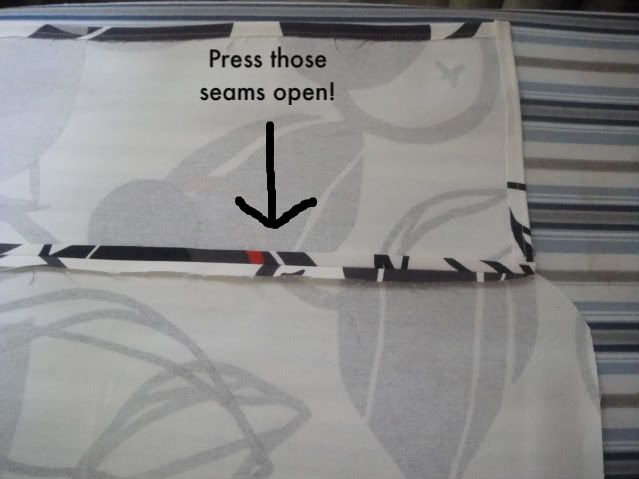
Next, measure the side pieces on the back part of the stool. Use those measurements (adding 1/2" to each side) and cut out 2 from your fabric. Attach the side pieces to the back and seat pieces with right sides together and using a 1/2" seam allowance.

Photobucket

Turn the cover right side out and check for fit. Make adjustments if necessary.

Next, measure your front and side panels for the skirt of the seat. Start at the edge of our seat piece and measure down as far as you would like the skirt to go. Then ad 1/2" to each side and cut out of your fabric.

Photobucket

Attach each panel and..

Photobucket

Give the cover a final fitting and make adjustments if needed. Finally, turn the cover wrong side out and turn the bottom of the fabric under 1/4" for your hem. Sew all the way around, pressing when complete, for a nice crisp finish!

Photobucket

Remember to make this your own!

Ideas for Skirt Variations:

ruffled
pleated
one continuous panel with box pleat corners
none at all - extend your seat piece all the way down, wrap around bottom of seat and staple to secure

Happy Creating!

Linking to:


Photobucket

Wednesday, June 15, 2011

Buffet Makeover in Old White and Duck Egg

Now that I have started painting and revamping furniture...I can't seem to stop myself.
(My husband has started calling me Sir Paints A Lot. Adorable, eh?)

Photobucket

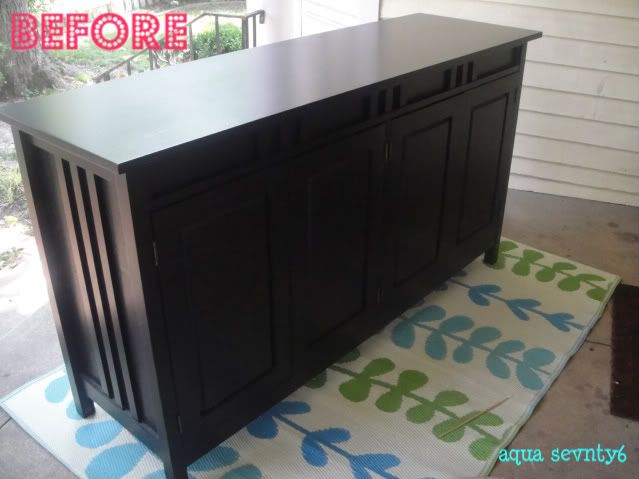
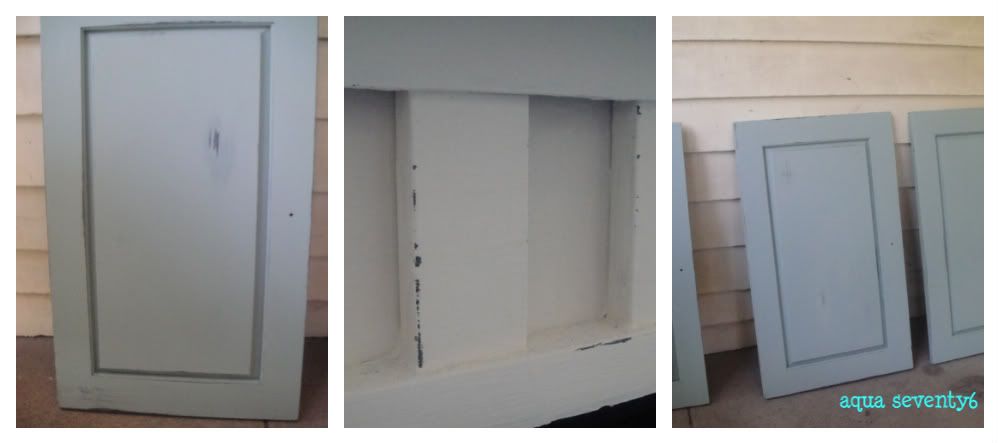
Here lies my boring old buffet (R.I.P) in good ole black laminate. This was the first piece of furniture my husband and I bought together; we needed more storage for all the kitchen crap wares we registered for. She has been a good girl, served her purpose well, but it was time for a rebirth!

Photobucket

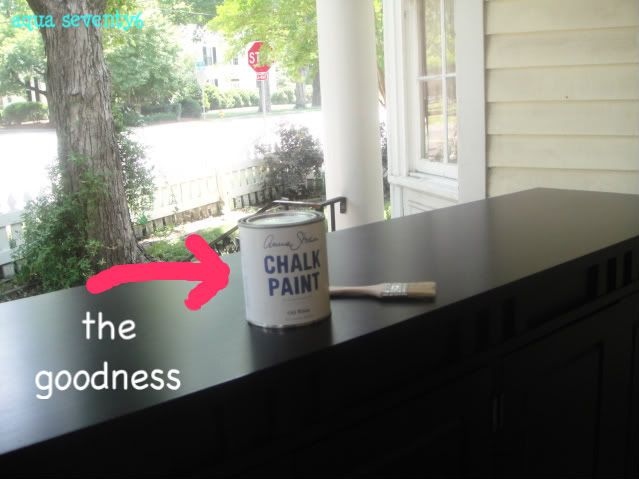
Yup, you guessed it! It wouldn't be a post these days without the help of our chalk paint!
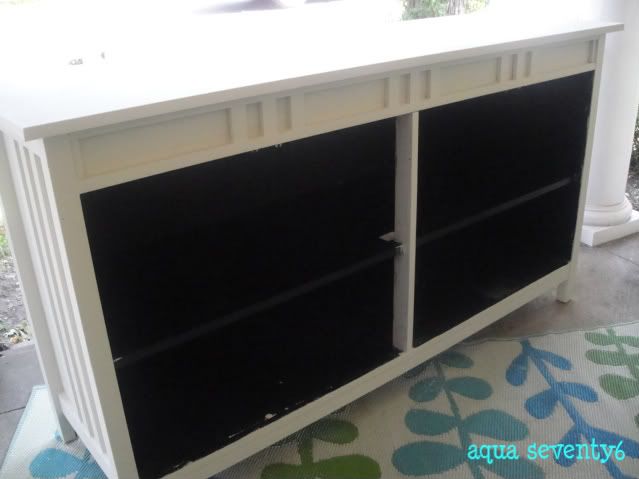
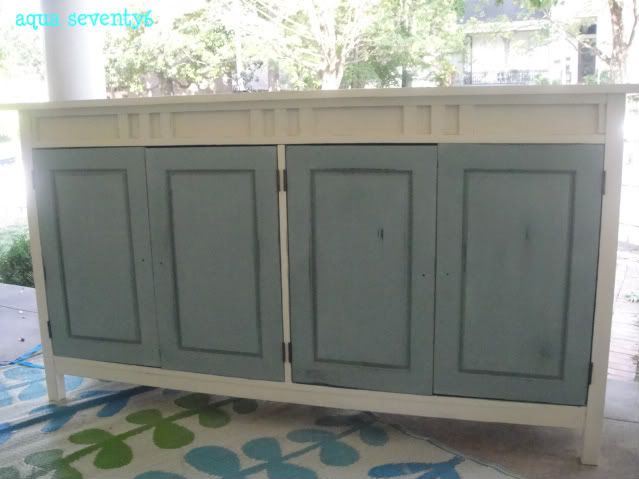
Two quick coats turned this black laminate silky white in 1 hour!

Photobucket

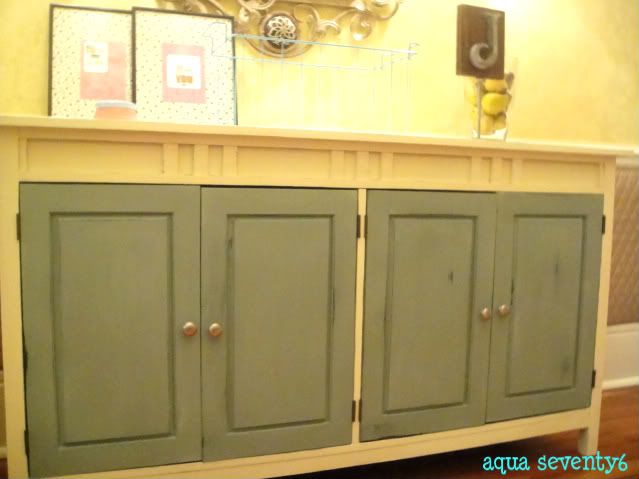
For the frame I used Old White. For the doors, Duck Egg.

Photobucket
I did the lightest of light distressing on this one. I just can't have it too "finished" looking. Not my style.

Photobucket

Helloooo, gorgeous! Once this gal was done, I just couldn't stop staring at her. So I did what any great decorator would do: moved it into the darkest, dreariest hallway in America.
(With terrible lighting to boot! Thank God we are moving in  days!!)

Photobucket

I cannot wait to find just the right spot for this piece in the new digs!

Photobucket

Linking to:

Furniture Feature Fridays Photobucket      
  

Tuesday, June 14, 2011

Formal Dining Chair Turned Funky Cottage Chair

About 8 or 9 years ago, before I discovered the wonders of thrift stores, I purchased a pair of "scratch and dent" dining chairs at the Rooms to Go Outlet store.  I can't remember how much I paid for them, but I am pretty sure it was about $100 for the pair (GASP!)

I reupholstered the chairs, and set them out in my living room as extra seating.  When we moved to our next house, they ended up as desk and vanity chairs.  With this current move, I only have room for one of the chairs as seating for the built-in desk in my super-sweet kitchen.

I had a can of Annie Sloan Old White Chalk Paint that I purchased on my visit to Robyn Story Designs in Tampa that was screaming to be used.  This chair was the perfect candidate:

Here's the chair in its original state.

Annie Sloan Old White

Check out my very appropriate painting outfit!

After the first coat (it needed 2)

I dug out a piece of remnant fabric I had purchased at Joanns a few months back to reupholster the seat.

Here's the finished product. 


I distressed and used some dark wax to enrich the color.

I love how a little paint and fabric turned this formal dining chair into a funky cottage chair!

So what do you think?

If you found us through a linky party, welcome and please become a follower!  We're happy to have you here!


Photobucket

Monday, June 13, 2011

Proof of Before

Disclaimer: Please do not judge the state of this garage. 
We are moving in 5 days and things are a little crazy up in there!
Photobucket

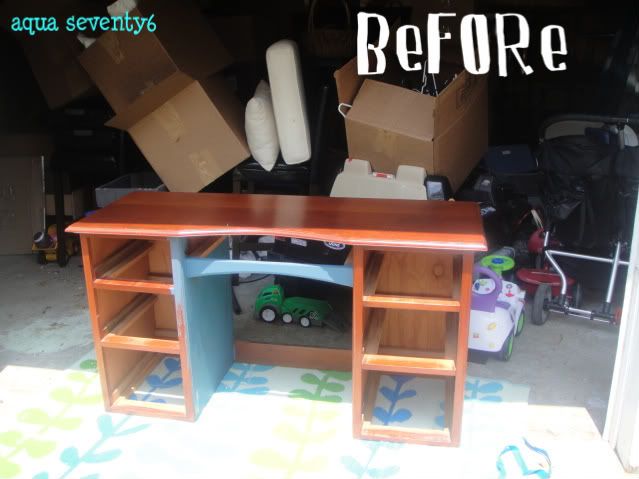
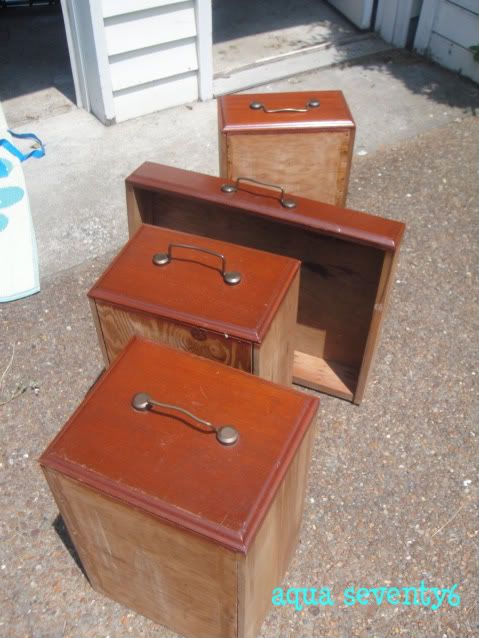
Here is the BEFORE to the desk I so enthusiastically posted the AFTER to last week.

Photobucket

The desk was a nice, solid wood piece with unique hardware. I paid more than I normally would ($70) but it is going to be in the main room of my new home so I think I can justify spending the extra cash!

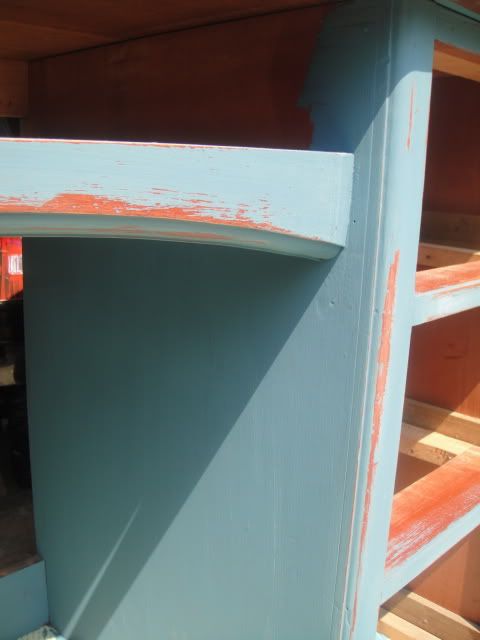
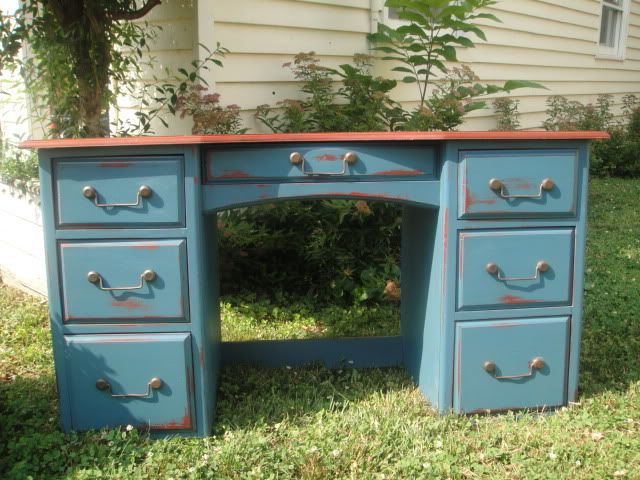
After I took the desk apart, I layered on 2 coats of my Annie Sloan Chalk Paint in Aubbuson Blue. You heard that right - straight to paint. No sanding, no priming! That is the beauty of the chalk paint. It dries so quickly that I went between the desk frame and the drawers without any wait time.

Photobucket

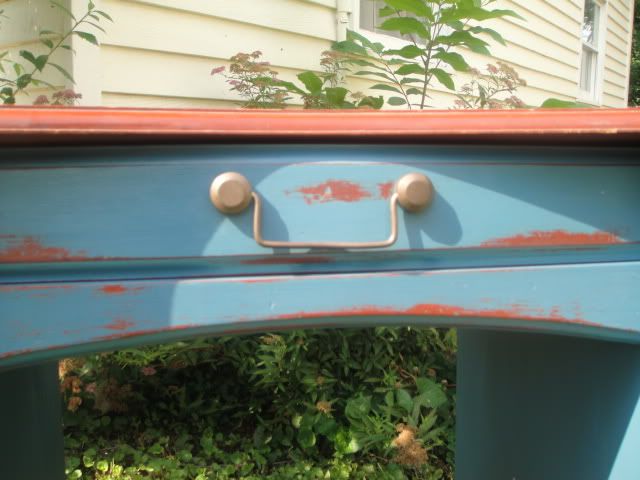
Once it was dry I did some distressing. Perk #203 of chalk paint: distressing is SUPER EASY!

REVAMPER'S TIP:
I used a medium sanding block and let the piece do the talking. Seriously, just start sanding and you will begin to see where the paint is easily coming off. Go with those spots instead of trying to force where you think the distressing will look best.

Photobucket

After the distressing was done, I wiped off the paint dust and any other residue and spread on my clear wax. That stuff is like buttah. Once if was dry I buffed it with a rag (thanks for the tip, Yvette!) to make the finish smooth to the groove.

Photobucket

My kids were so impressed they asked to have their picture taken with the desk.

Photobucket

Now they like to climb on top of it and drive their Matchbox cars around.

Linking to:

Mustard Seed Creations Furniture Feature Friday    Photobucket

Photobucket