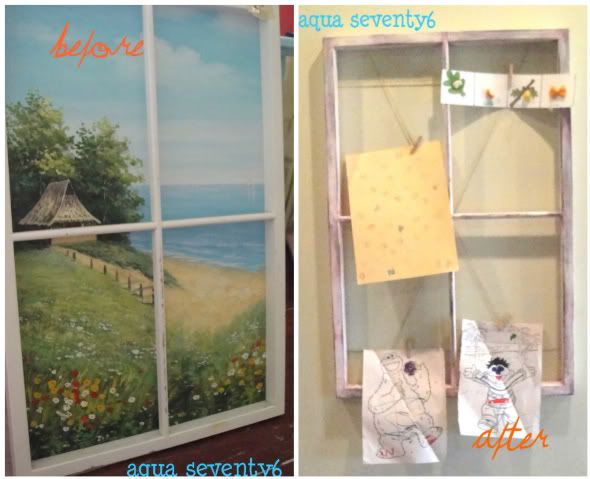
This is a quick garage-sale-find makeover I did while the kids napped yesterday - and still had time for a cup of coffee before they woke up! After a week of unpacking boxes I was itching for a project. I figured this was simple enough to bang out in an hour.
I picked this painting/window frame up at a garage sale months ago, not knowing quite what it would become, but knowing it had more to offer than it was in its current state.
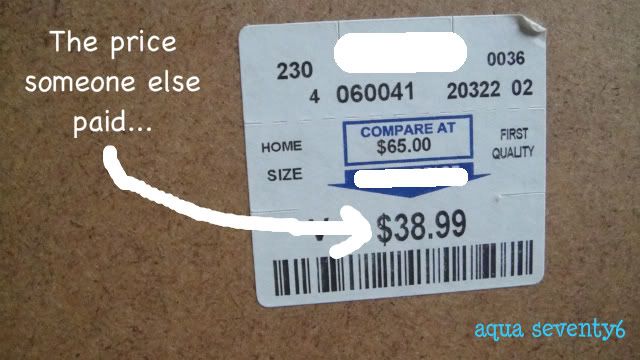
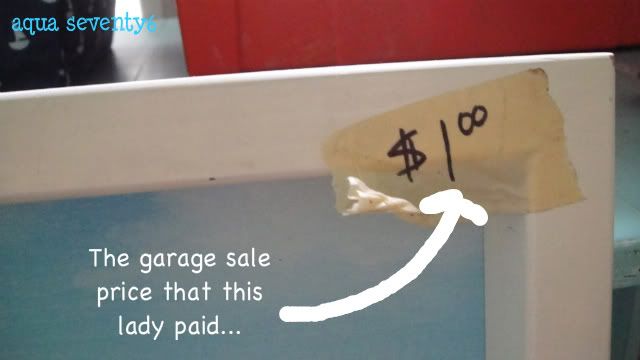
The first step was to set this lady free. The painting was like a huge pimple on a pretty face; you know there's a lovely face there but all you can do is stare at that giant zit! So, I just started pulling on the picture...and off it popped! Why does it feel so good to pry something apart with your bare hands?
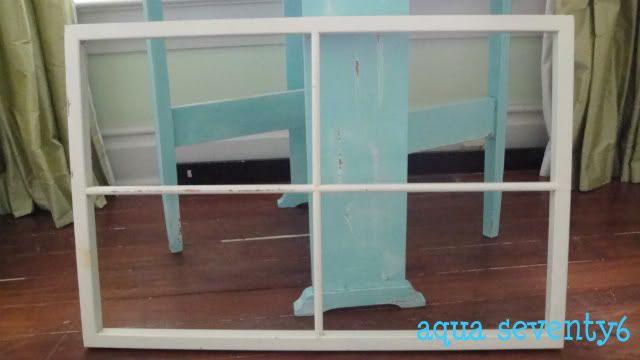
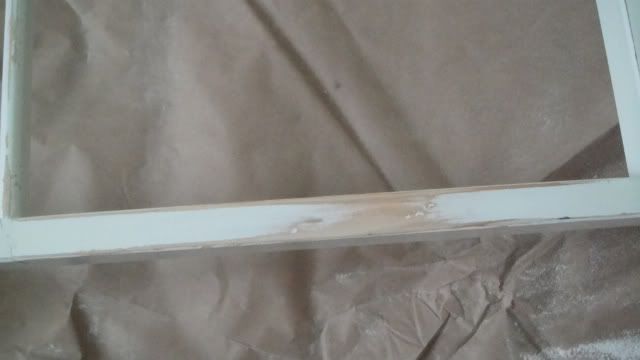
Next, I started lightly sanding with a #2 sanding block.
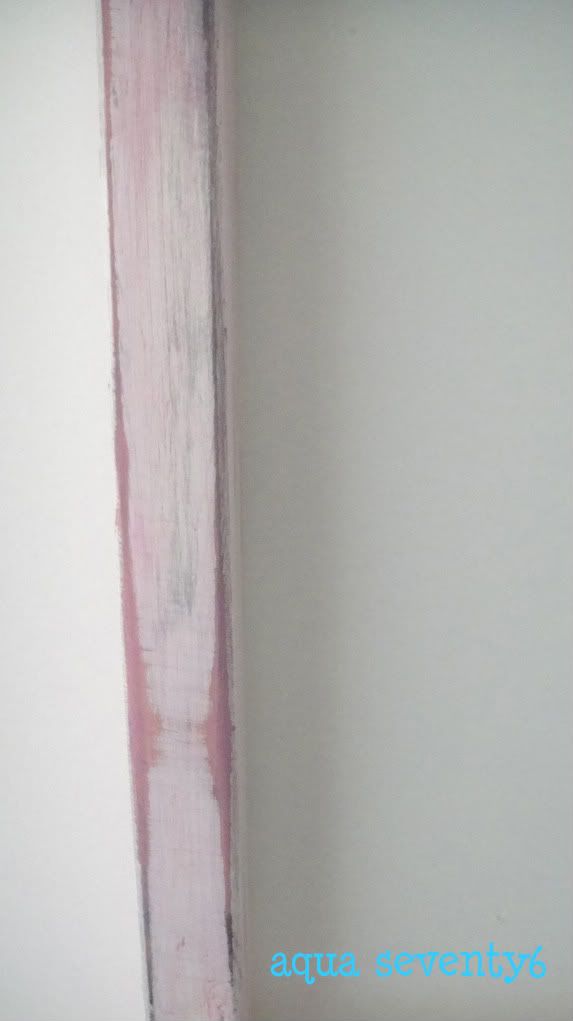
Using a dry brush technique (which is a fancy way of saying dab a little bit of paint on your brush and then dab most of it off on a paper towel) I added a little black and then a little pink.
But she was not quite done. The whole purpose of this project was to create something to display my sons' art projects. They have been bring home some of the cutest things from school and I was at a loss of how to properly show them off. A important factor was making it simple to swap things out as only some of the projects will make their home in a frame.
Enter twine and miniature clothes pins! Which seems to be a current them with our projects lately!
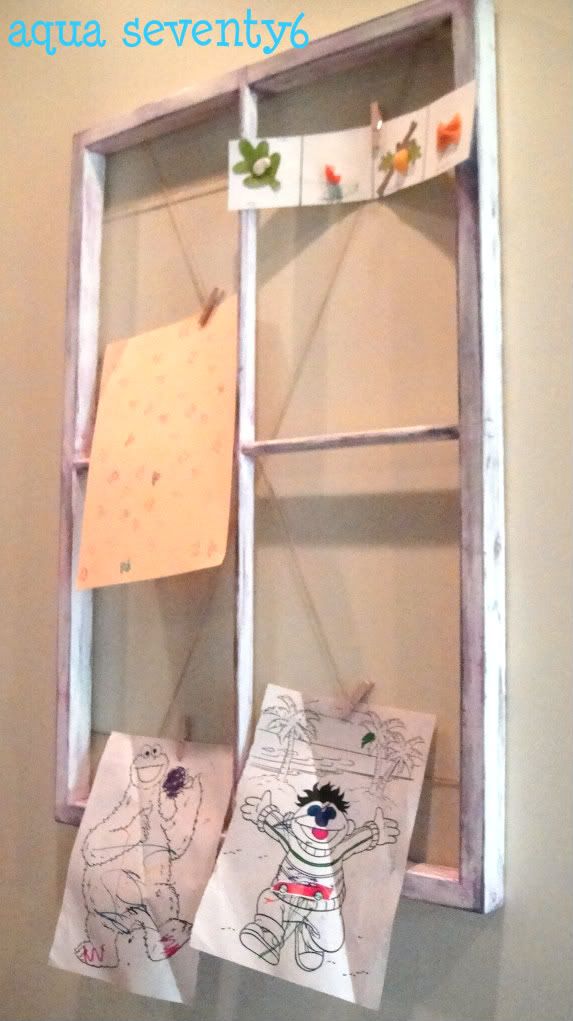
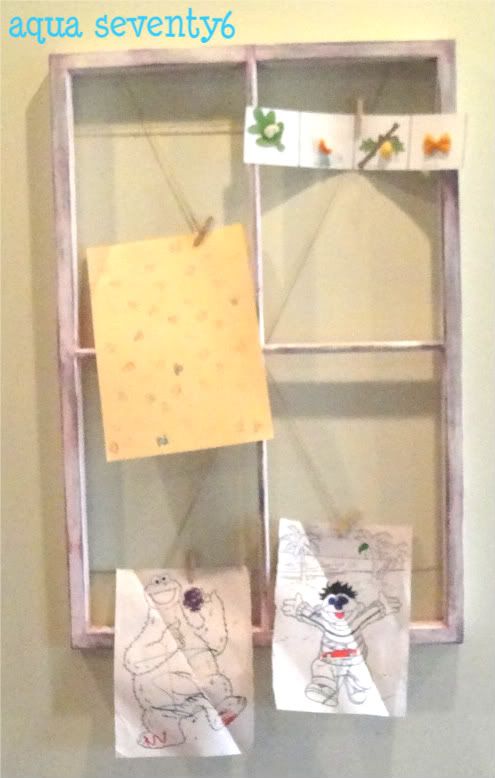
Now that it's all done, I am still not 100% sure if I loooove this piece as much as I want to. But that is the beauty of DIY projects - you can often just simply redo something such as the paint color. In this case, that is what I have narrowed it down to- the paint color/technique I choose. So stay tuned, maybe this makeover will get a makeover! (And I think these pictures are proof I may also need a new camera.!)


I think it came out great!
ReplyDeletei bet if you backed it with some fabric, it would help it pop some! :) love your site!
ReplyDelete